DIY Artwork

Never in my dreams did I think that I would, for a second, live in Los Angeles, but here I am, living in an amazing house! It’s a bright home with lots of space, a lovely backyard and I share it with a very dear friend. We got really lucky finding this house to call home and we couldn’t be happier living here. It was a clean slate with all white everything - walls, doors, cabinets, built ins, everything! Being that we are renting, we are limiting what we do with the space in terms of wall decor etc. We are creatives so of course we are trying to figure out how to create a space we love, while also being conscious of our budgets.
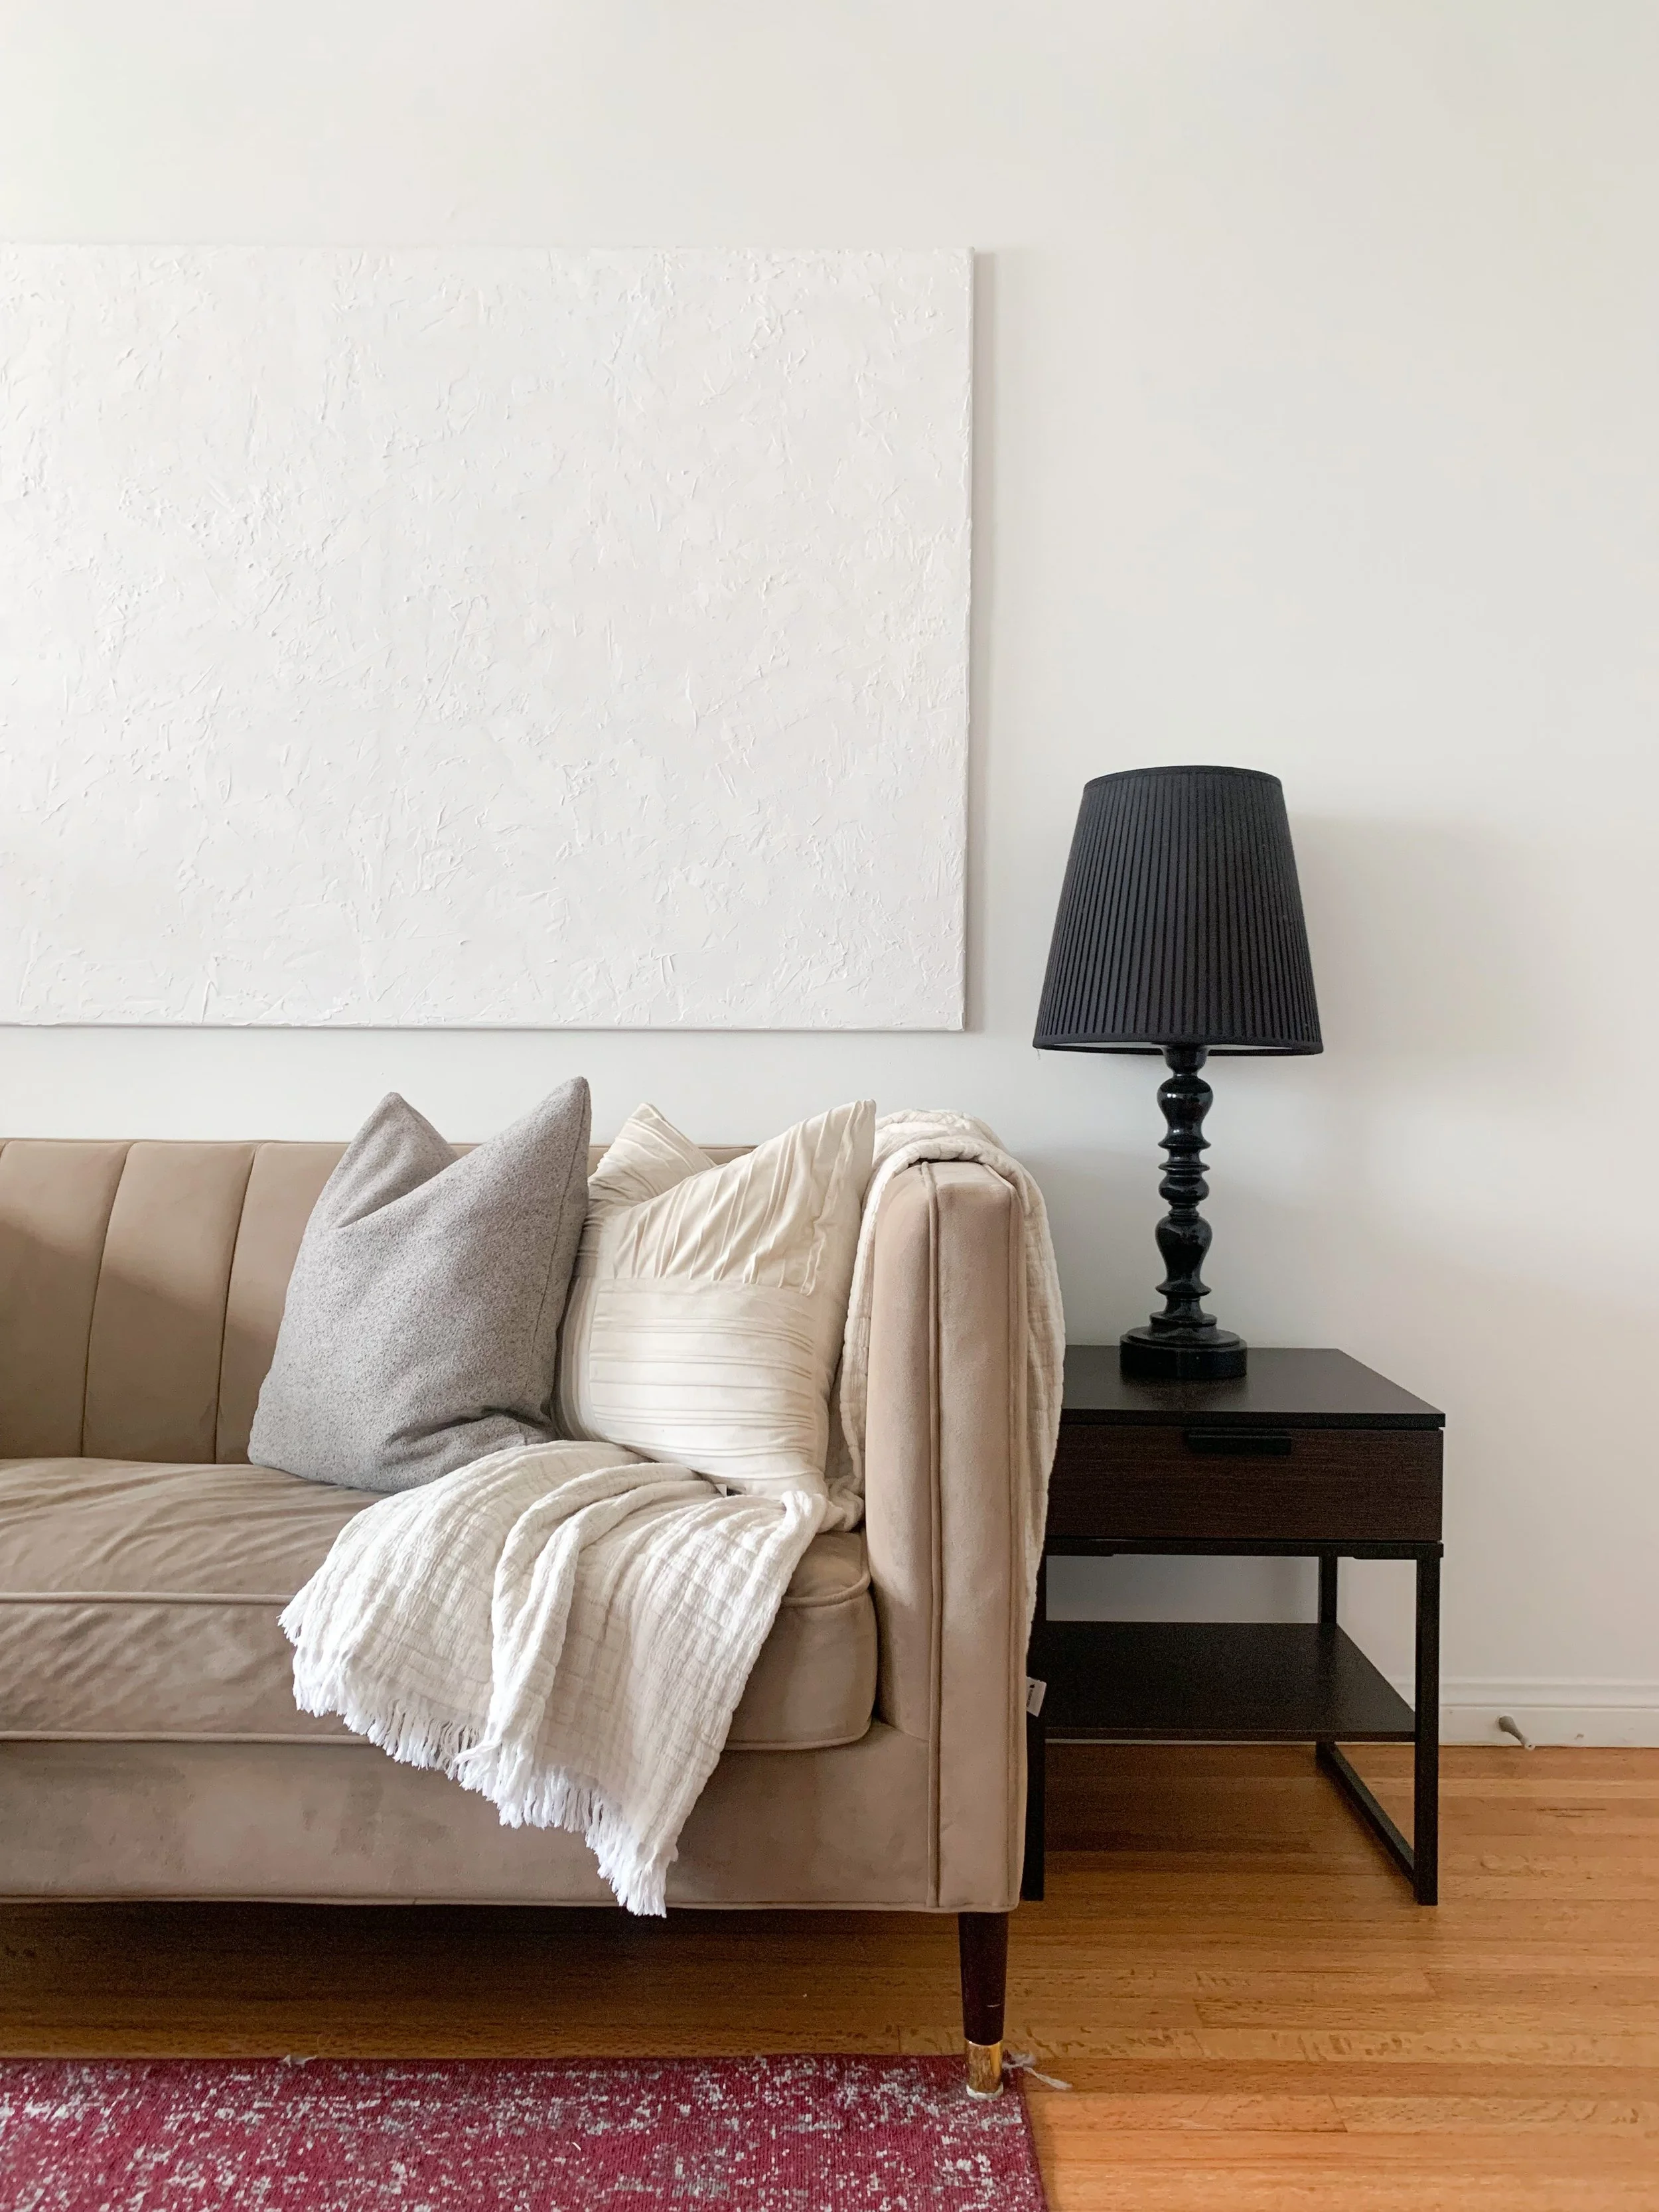
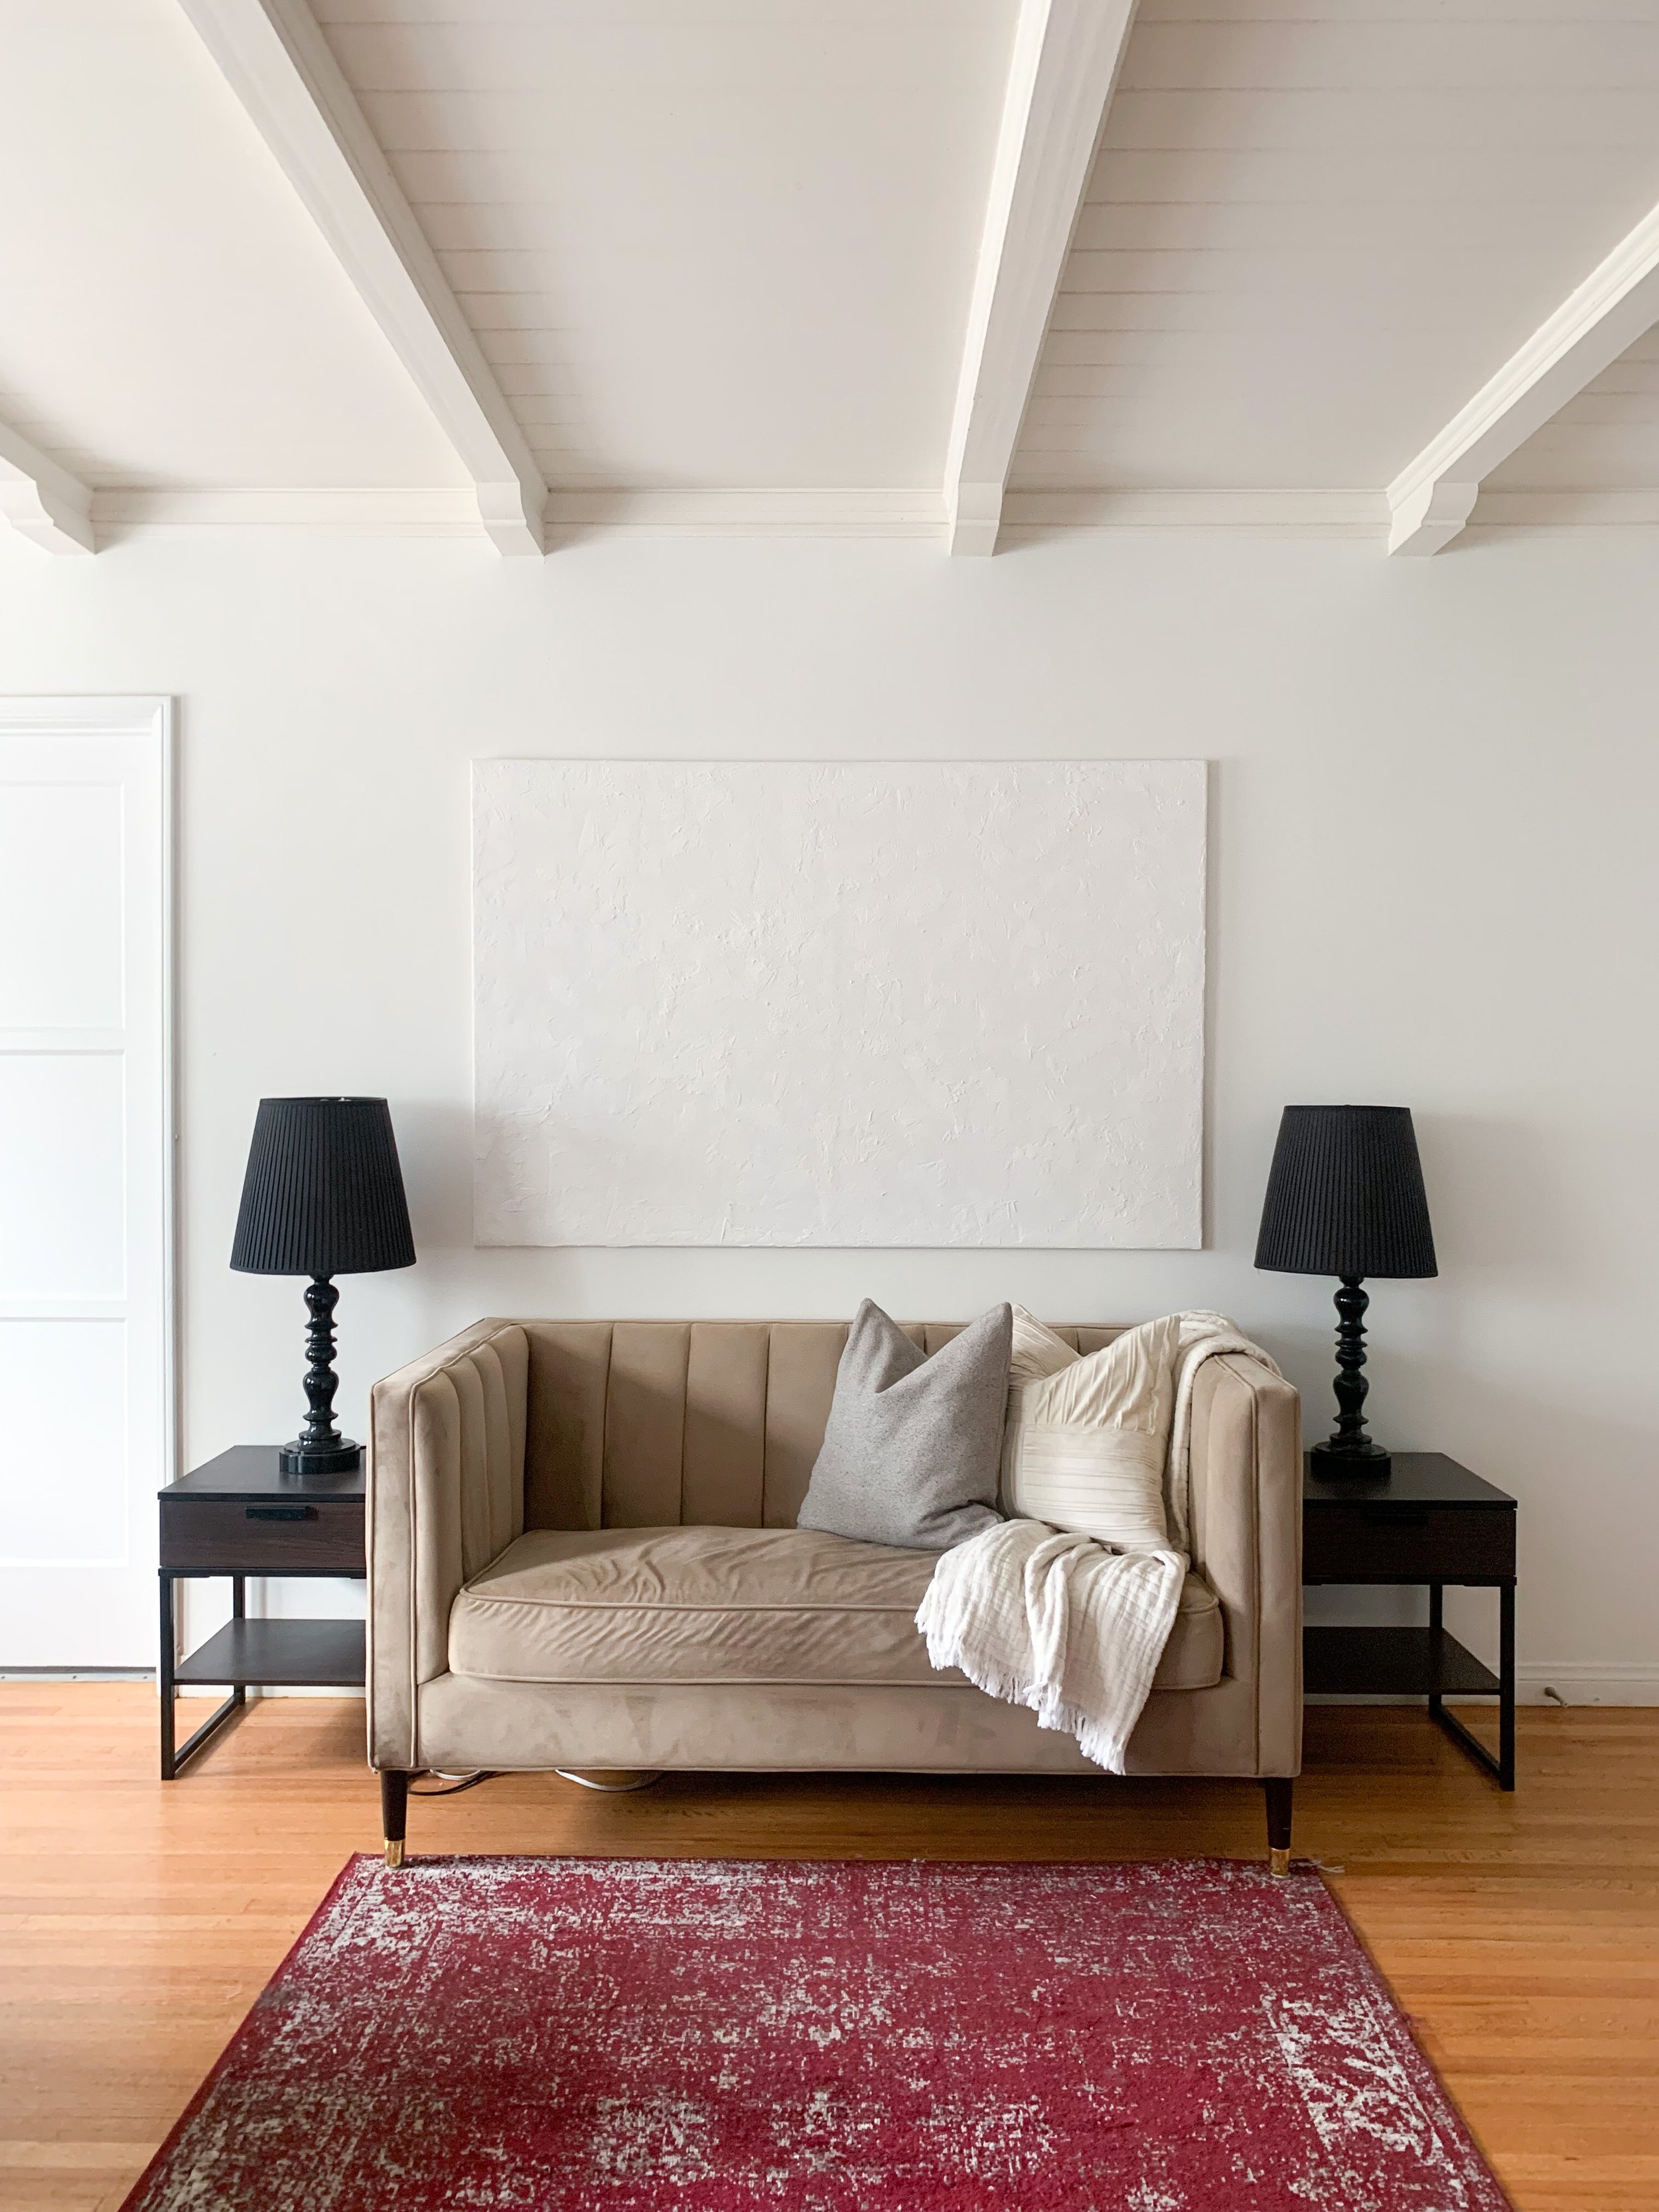
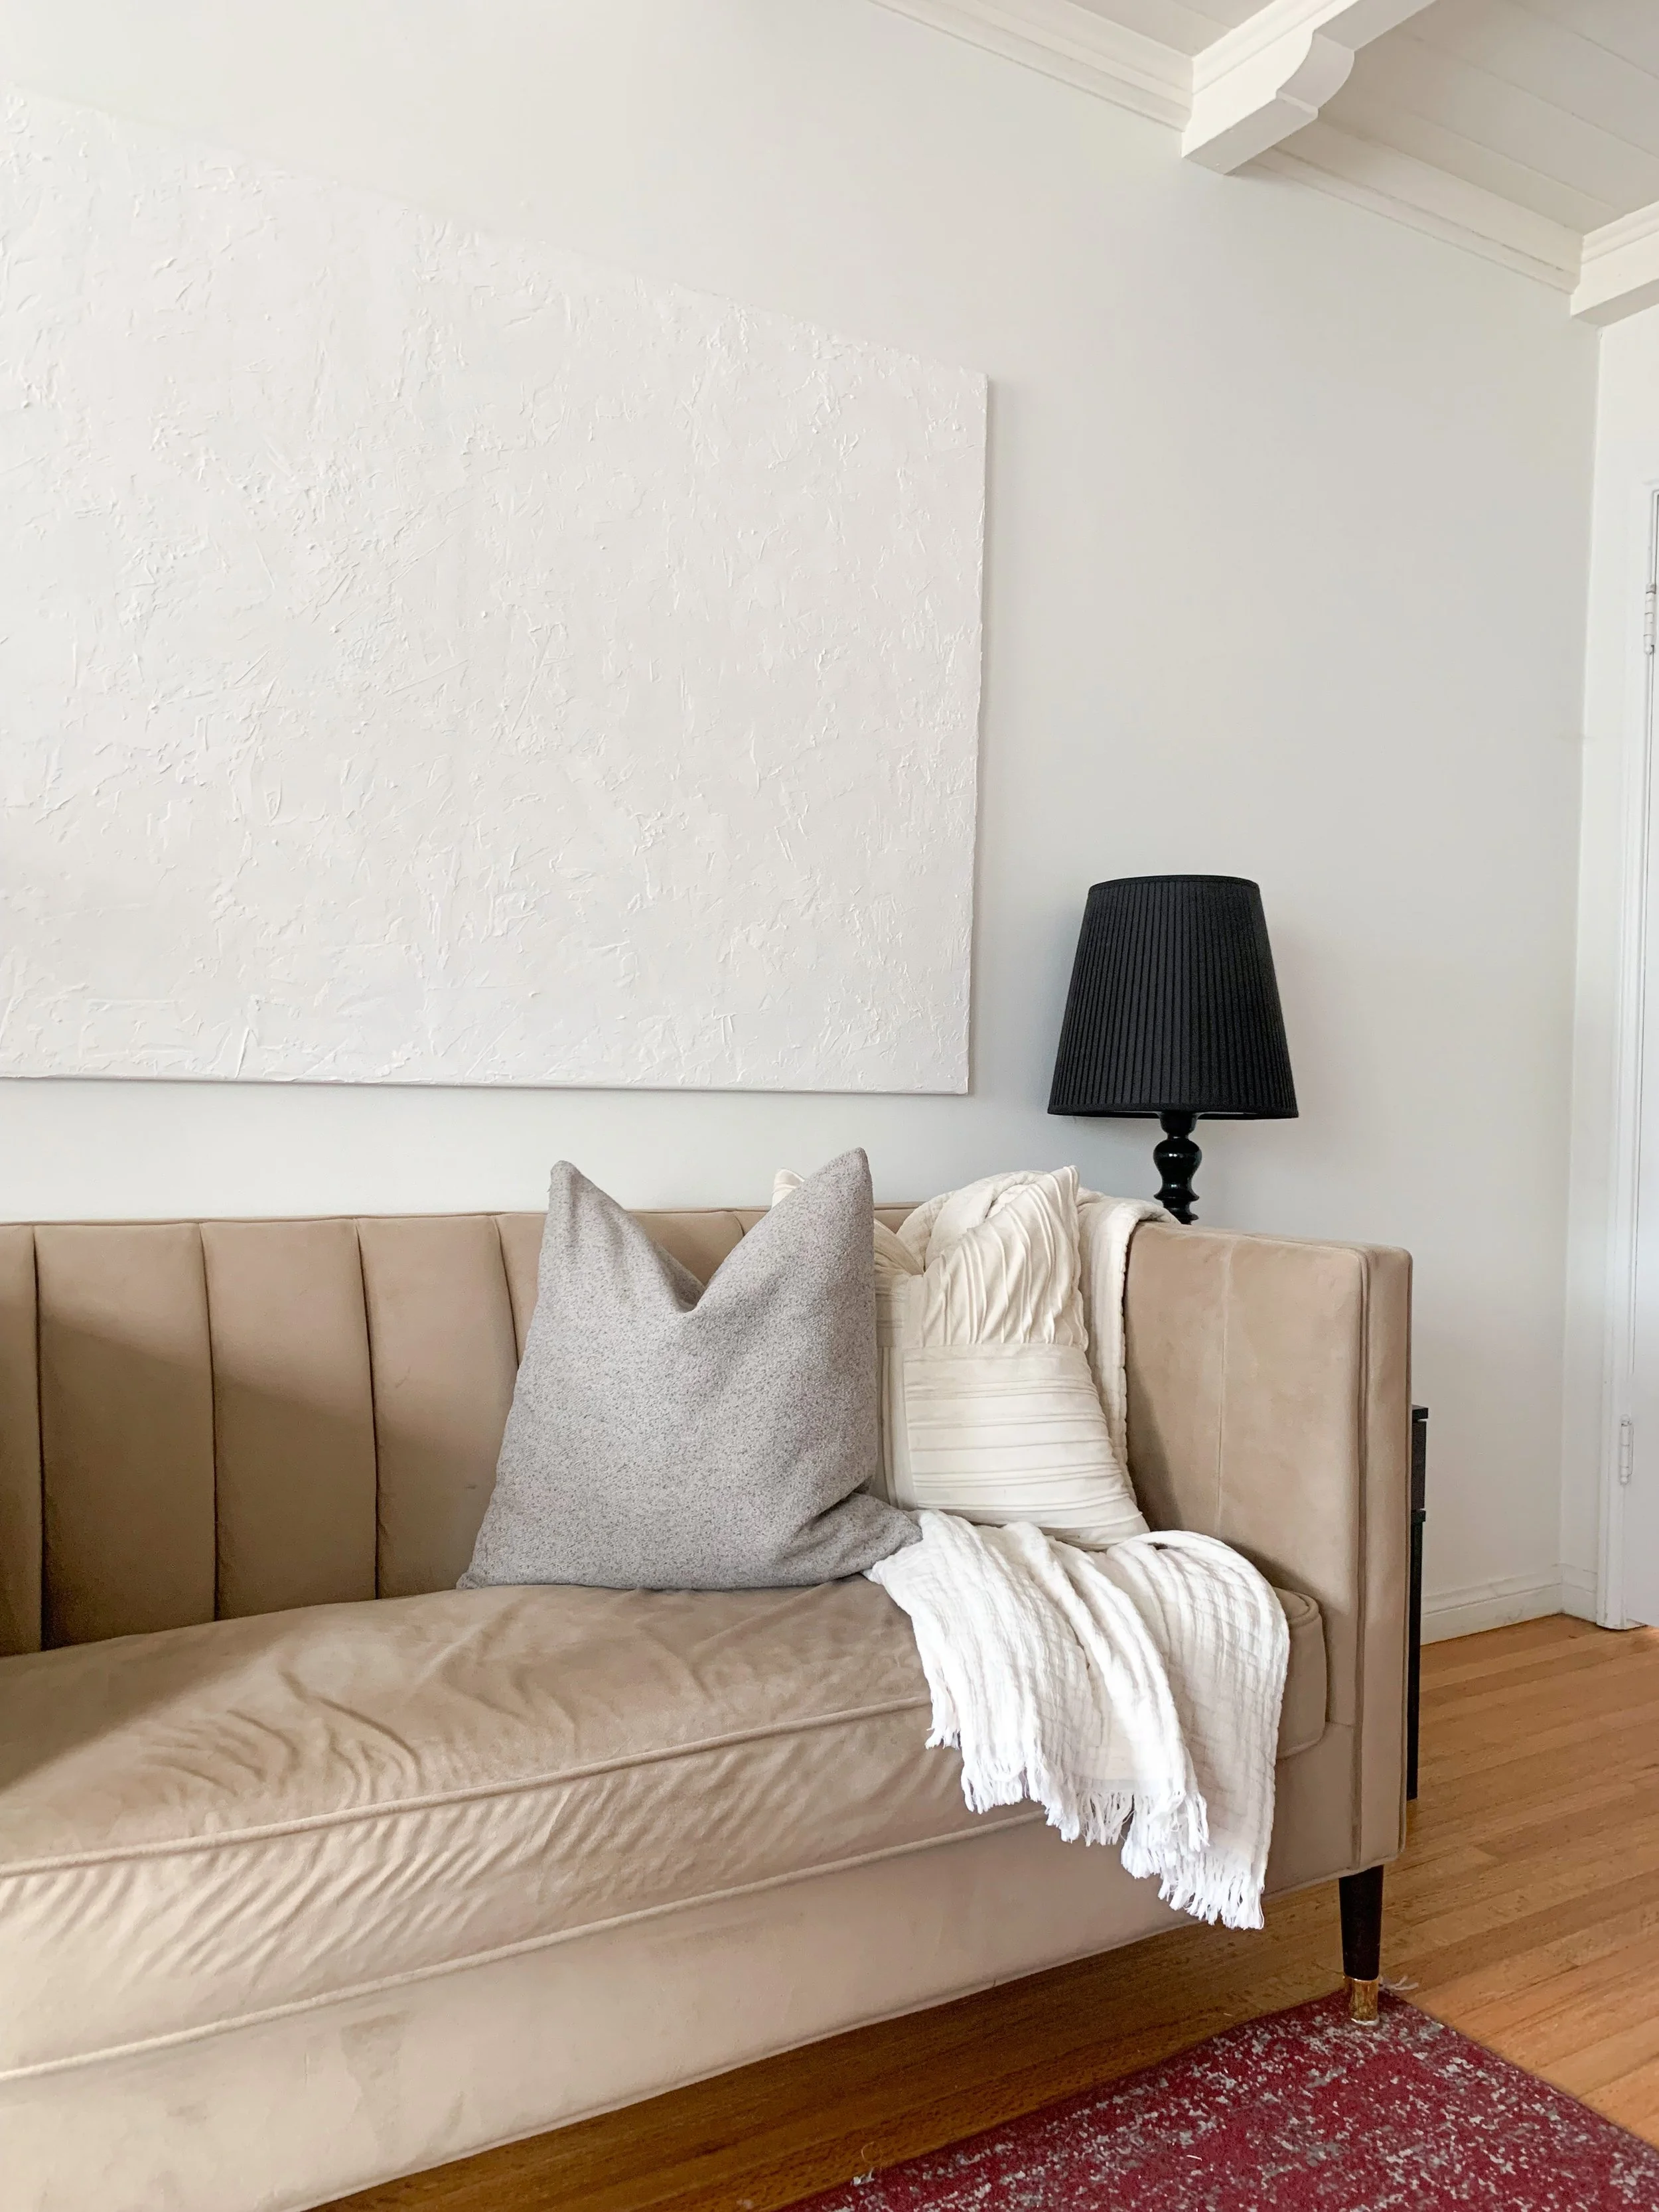
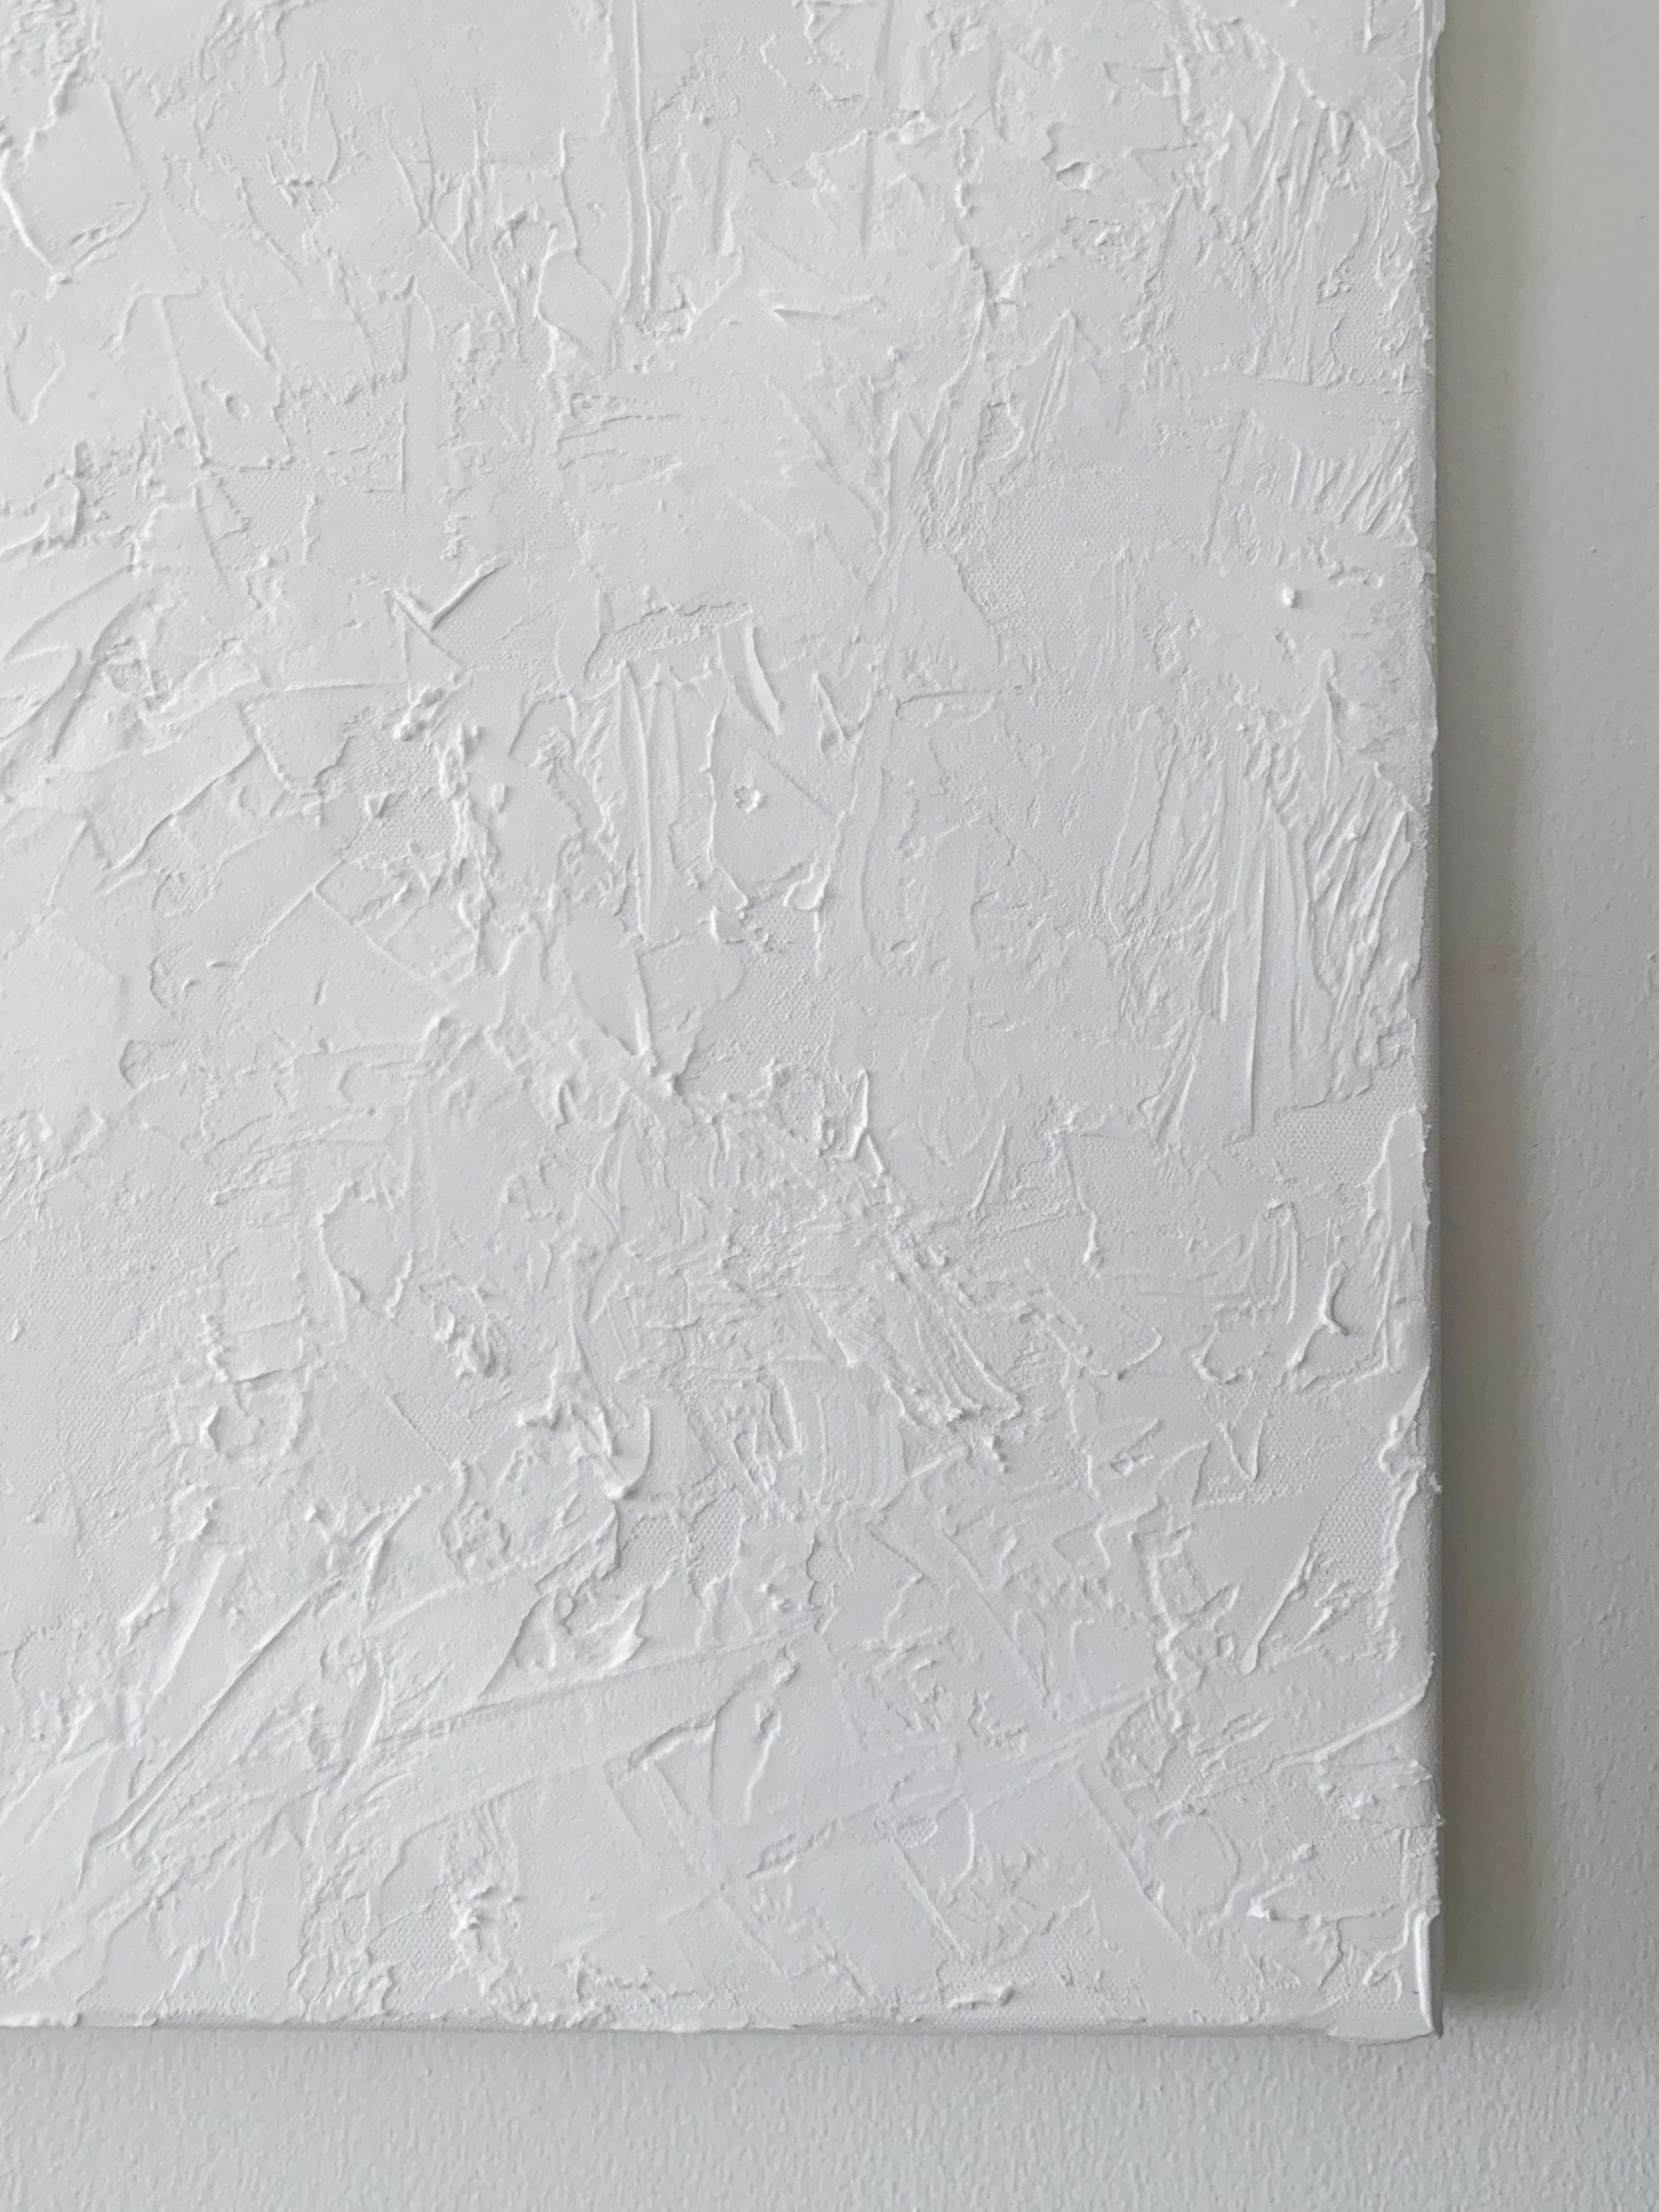
One day I walk into Ross looking for a lampshade (didn’t find one) and walked out with this giant 40x60 art canvas for a whopping $19.99. I had been searching for a canvas for so long but just couldn’t justify spending the money on it (still cheaper than buying art) but for a rental and something I won’t be taking with me when I leave, I didn’t want to make the larger investment, so finding this was definitely a stroke of luck.
So how did I make this piece of art? It’s surprisingly easy. I put it off for a couple months because I was afraid it would take a lot longer than it did. Thirty minutes plus some drying and hanging time - that’s all it took!
What you’ll need:
Mine is super large but you can pick any size that best fits your wall space. My motto on art - go big or go home! But make sure it makes sense!
I wanted to make sure that this huge piece of art was not heavy for hanging. This stuff is so lightweight, it almost made no difference. I was able to hang the artwork on my own - no problems at all.

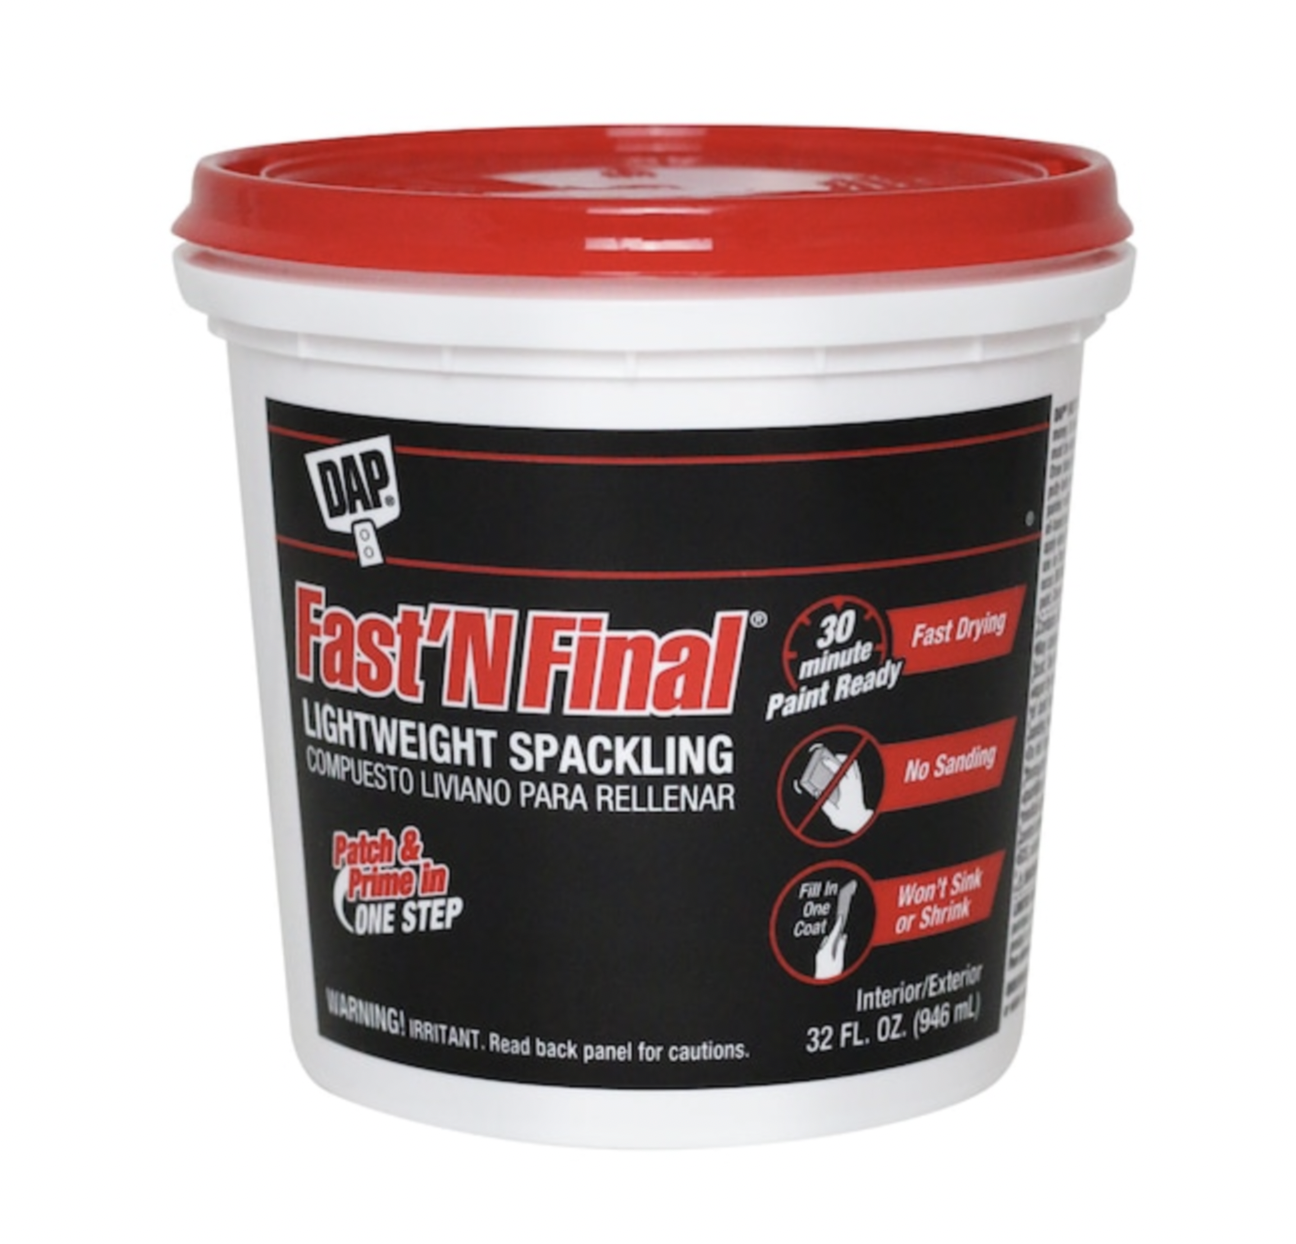
I purchased the 3 pack with all different sizes. This gave me the flexibility to use whatever size I wanted. I only used the smaller of the 3 to achieve the texture I wanted.
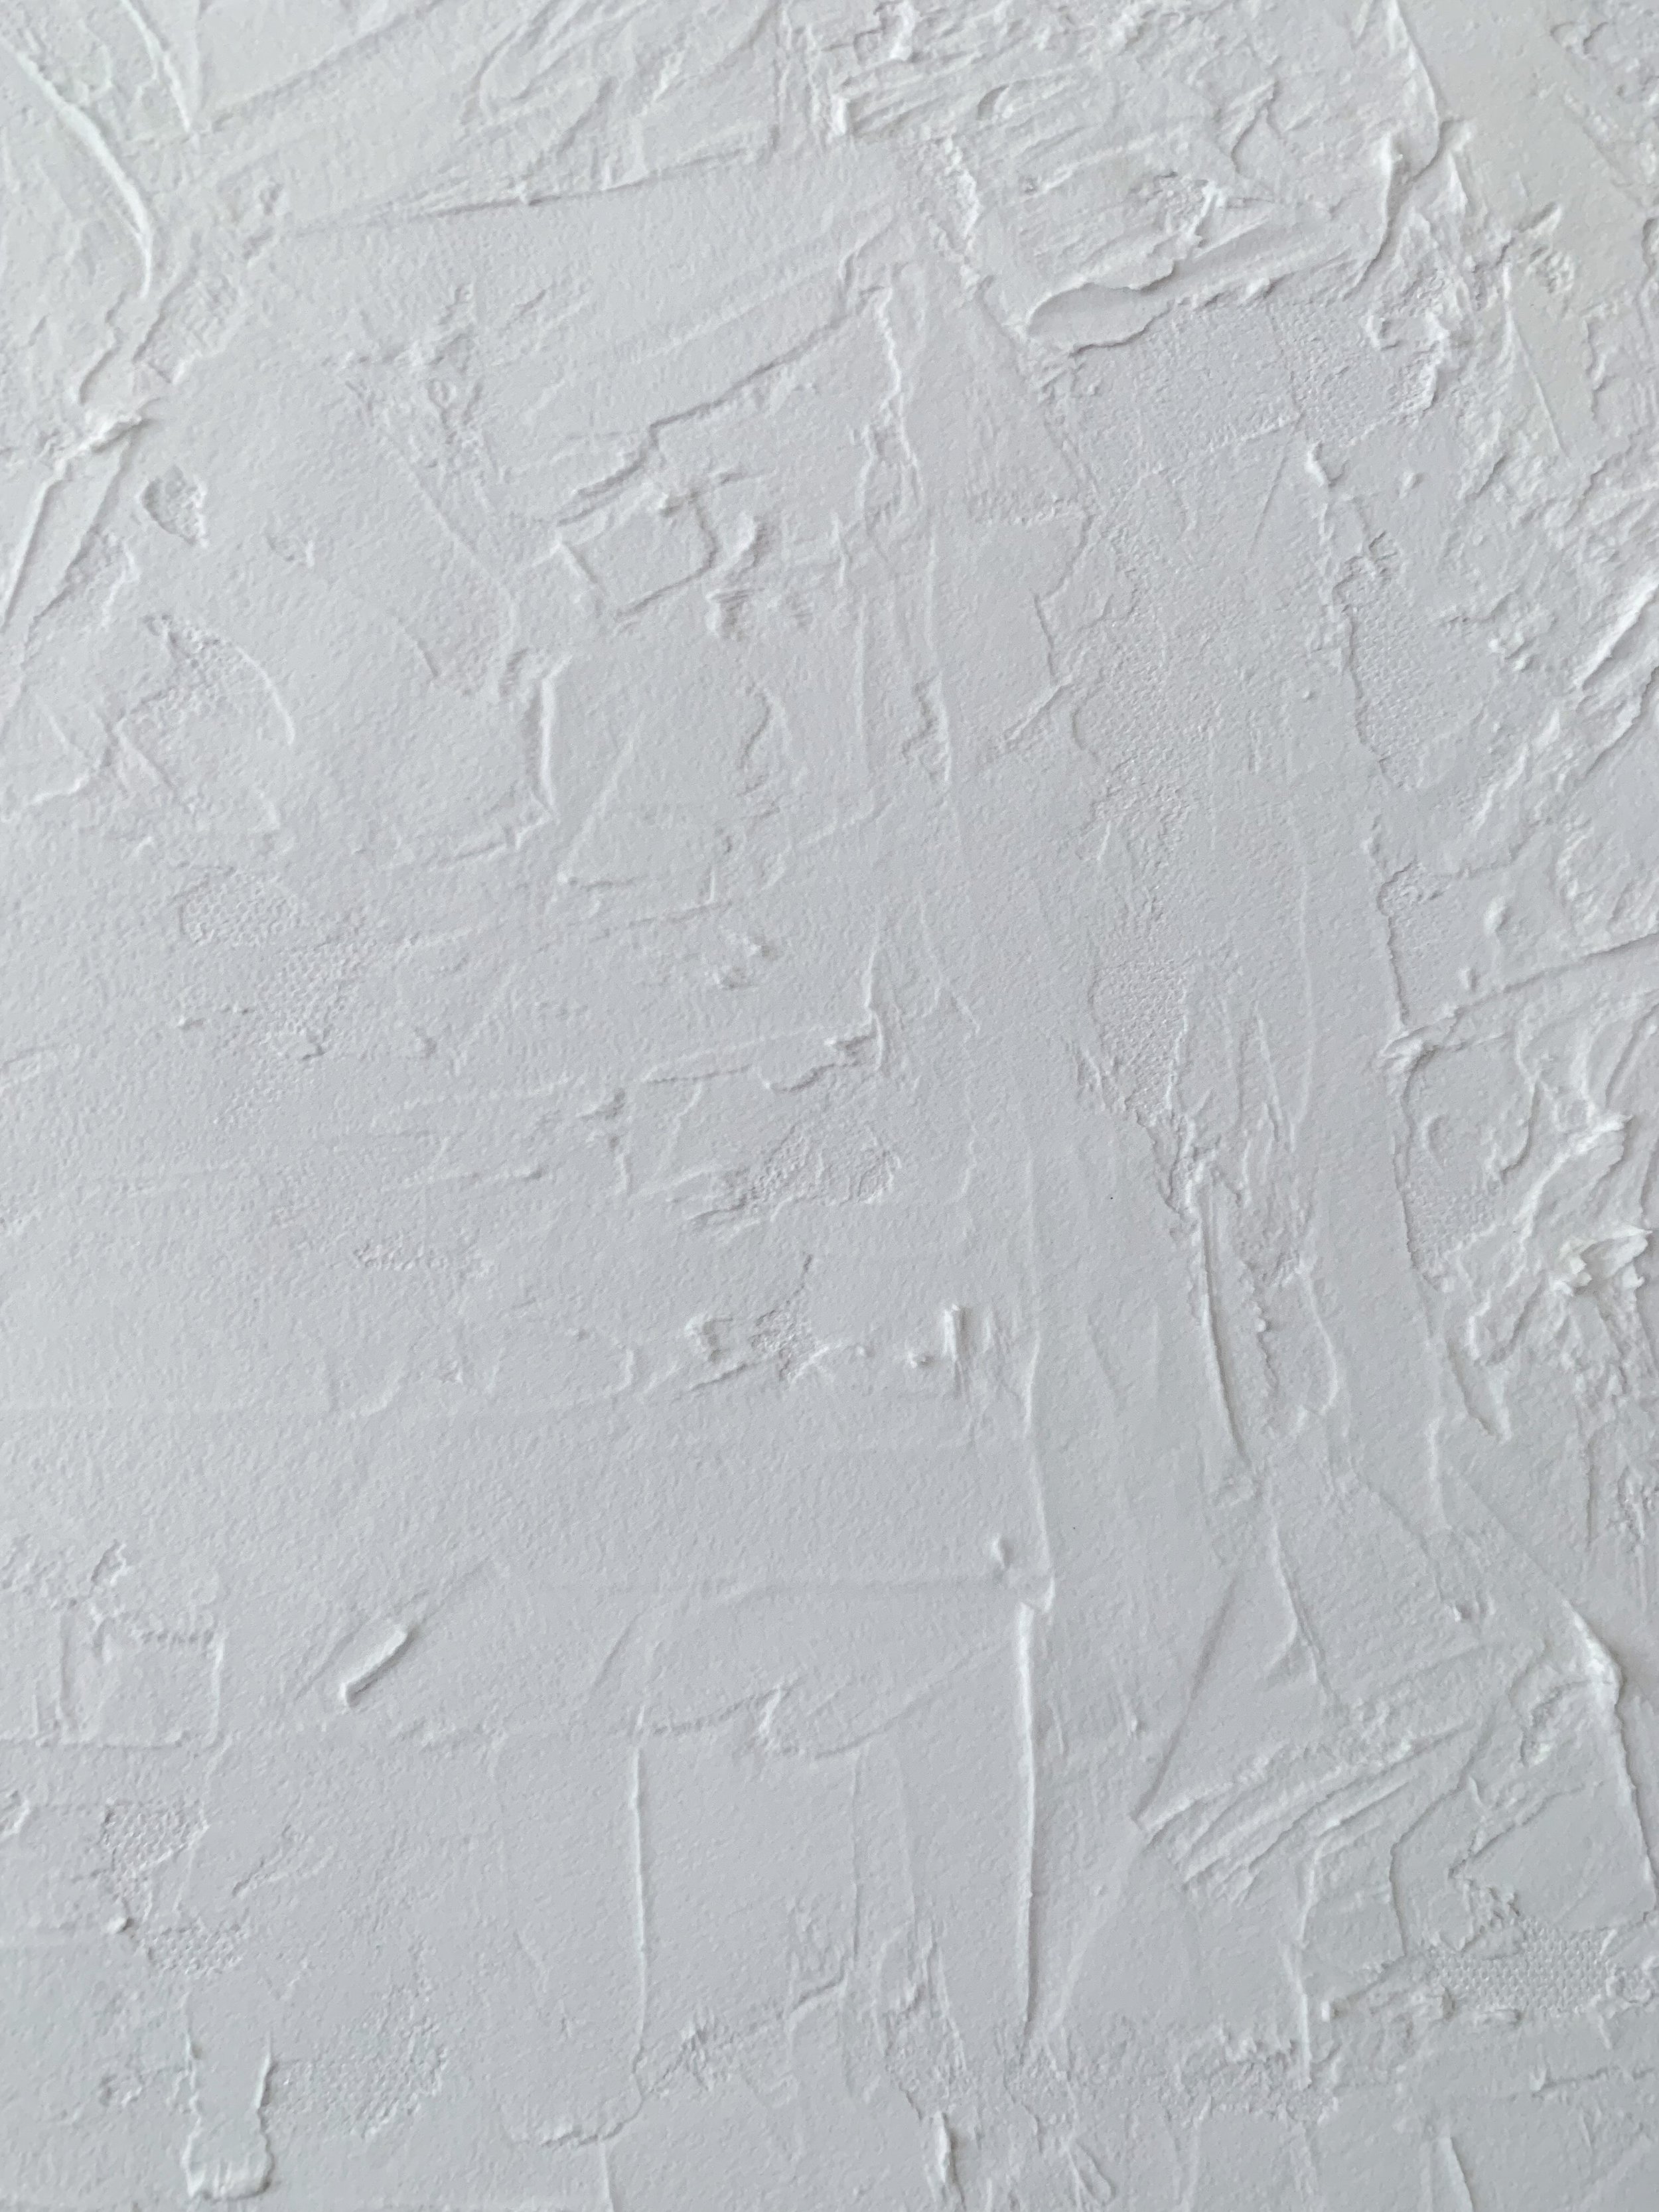
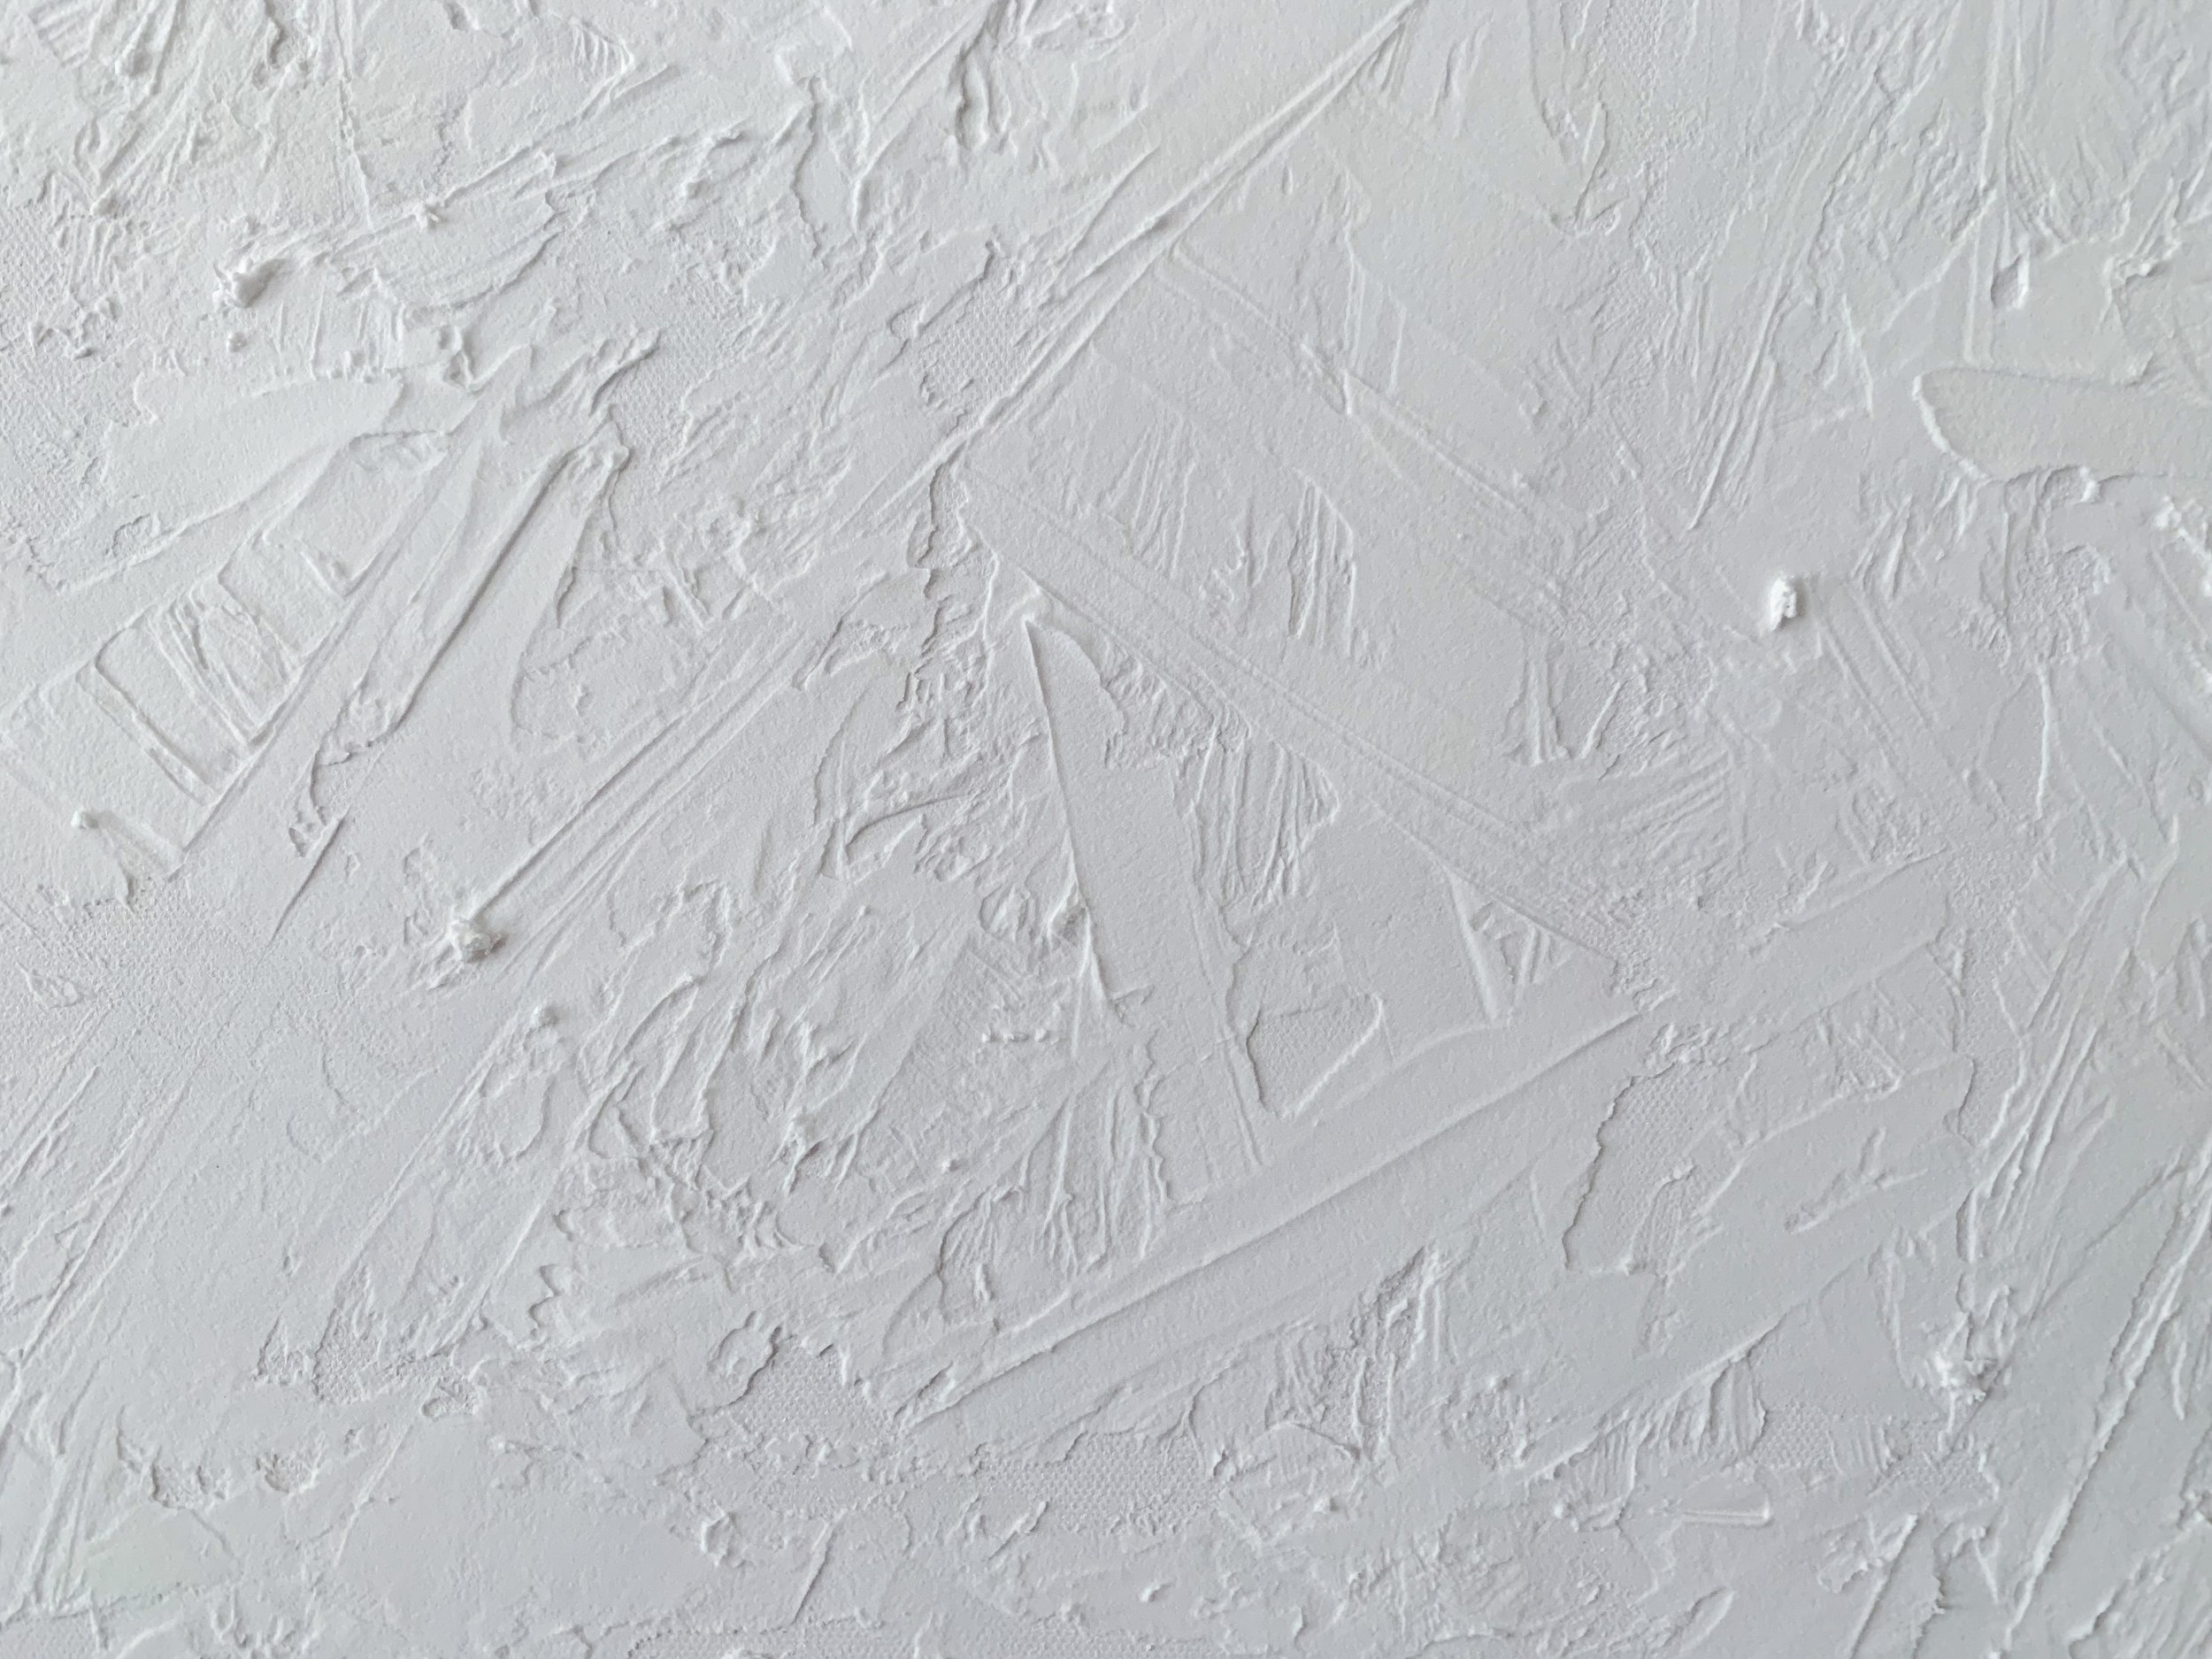
Technique: To be honest, there is no proper technique for this, unless you are attempting a specific design, which I did not. I was going for a more abstract look. I started with a smooth thin layer, pressing down on the canvas (not too much pressure though, you don’t want to damage it) then lightly dragged the same knife across the top in different directions to create the texture. It’s ok to be messy AND it’s ok if the canvas shows through. I actually like seeing the canvas poke through here and there. Adds to its character. I used the smallest of the putty knives but you can achieve a similar look using any of the other sizes. Do what feels right to you!
I hope you have as much fun creating artwork as I did. I’m really proud of this piece - just needs a beautiful floating frame around it. That’ll be a project for when I own a saw to cut wood to the proper sizes. Until then, this will do and I LOVE it!
Creatively,
Marlene R.